MEDICAL RECORDS & IMAGES
Medical Records & Images
The best way to access patient medical records is through your connected interface or SEL account. You can create an account on SEL below, or request images via our form.
MRI Locations Requiring Direct Contact
Our medical records team manages the patient records for most Shields MRI sites. Below are the MRI sites that we cannot release records for. You need to call the below facilities directly to obtain your MRI records:
| Central Maine Medical Center 207-795-2480 | Tufts Medical Center 617-636-0063 | Cape Cod Heathcare (Fontaine, Wilkens, Falmouth & Sandwich) 508-862-5540 | Emerson Hospital (Concord, Westford) 978-287-3907 | Harrington Hospital (Southbridge, Charlton) 508-354-5700 |
SEL FAqs
You can request a login (username and password) online at shields.com by filling out this form. Just select
“Register” on the Shields Express Link button. You can also request one through your Shields marketing
representative. He or she will provide you with a user agreement, which you must sign. After signing it, you
will receive a unique and secure username and password. If you do not know who your Shields marketing
representative is, you can contact Mary Scanlan, the Shields marketing assistant, at 617-376-7417 or
marysc@shields.com, and she will assist you.
On the login screen, below the sign-in fields, there is a link that reads “Forgot username or password.”
Click on this link and you’ll be directed to a screen where you can indicate that you forgot your password.
Select this option and click the “Retrieve” button. You will receive an email with a link allowing you to change
or reset your password.
On the left side of your screen, there is a button labeled “Preferences.” Click this and all your
customization options will appear. The top option is a drop-down menu listing all the practices to which you
are connected. Select your default practice preference from this list, and the next time you log in SEL will
remember your selection and show this practice first. There is no need to save anything when selecting your
preference; SEL will automatically keep this preference as your selected practice. Click “Preferences” again
when you are finished to return to your main screen.
First, it is important to note that to share an exam with someone, the person receiving it MUST be an SEL
user. To share an exam with another SEL user, click on the exam in your worklist to bring up the “Exam
Dashboard.” On the right side of your screen, there is a button labeled “Share With… .” Click this, and in the
“Search” box enter the name of the person with whom you wish to share the exam. Click on the name that
appears beneath the “Search” box; then click the “Share” button and your exam will appear in the person’s
inbox. That person will receive a notification through SEL to alert him or her to the fact that it is there. Click
the “Done” button when you are finished to return to your main screen.
If you can’t find an exam in your worklist, you can use the “Search” feature at the top of your screen, just
below the SEL logo. If the study is outside of your practice, you will need to know the patient’s first name,
last name and date of birth. Once you locate the study, click on it from the drop-down menu and your exam
will open. Make sure you mark the study “Reviewed” by clicking the “Reviewed” button so that it appears
in your worklist the next time you log in.
In the upper right corner there is a drop-down menu containing a list of all the practices with which you are
associated. Changing this value will update your worklist to show ALL exams in the selected practice. You
can change your default practice in the “Preferences” section.
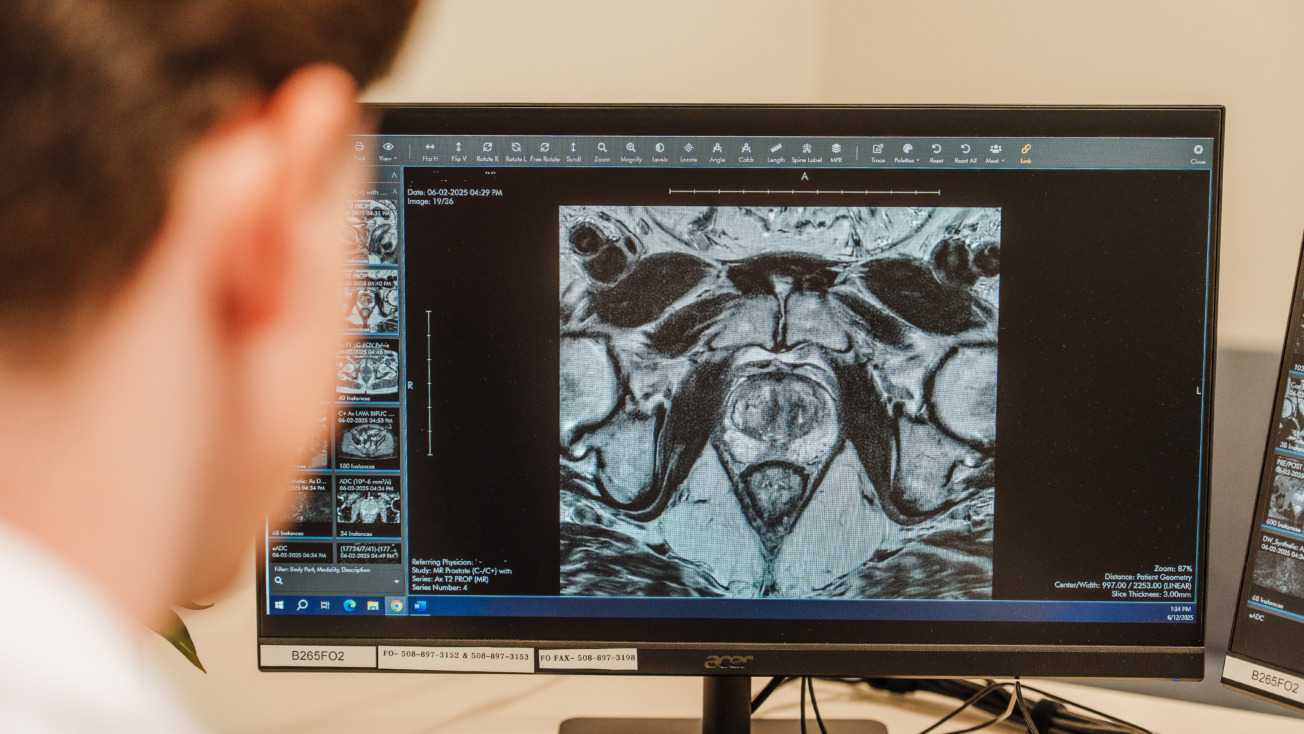
To view your patient’s images, click on the name of the patient. You’ll be directed to the patient’s “Exam
Dashboard.” From the dashboard, select the “Images” button on the top left side of the page.
To view your patient’s reports, click on the name of the patient. You’ll be directed to the patient’s “Exam
Dashboard,” where the report will be featured immediately if it is available. If you would like to limit the exams you view to those with completed reports only, you can make this update in the “Preferences” feature.
Contact